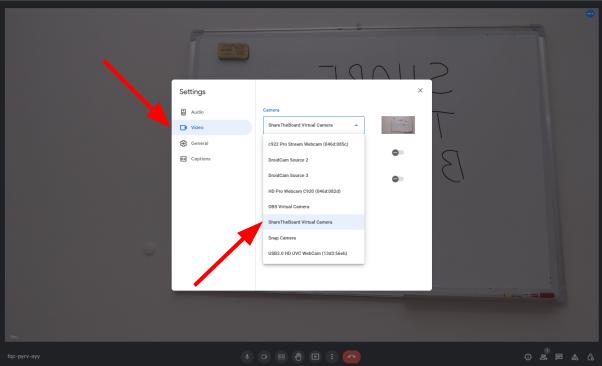
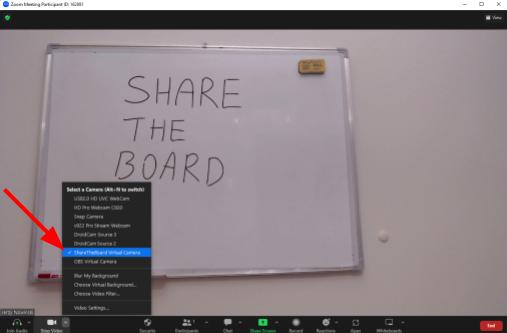
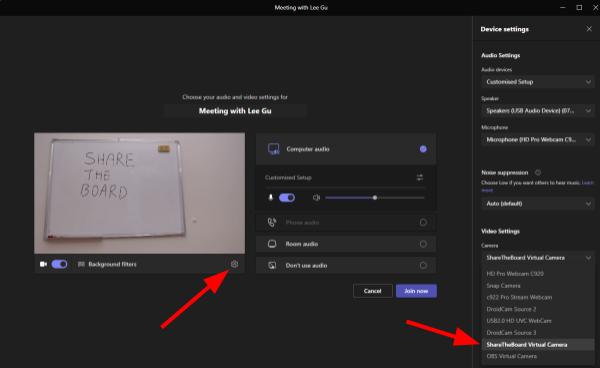
6.2 Virtual Camera doesn’t appear within other applications
First, try restarting the application in question (e.g., Zoom or Skype); otherwise:
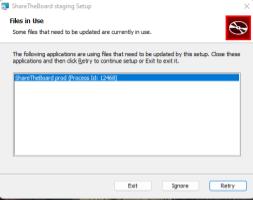
- Most likely cause: the Content Camera was not installed with admin rights
FIX: Please uninstall the application, then install it again with admin rights
- Other potential cause: the DLL required to install the virtual camera was not properly implemented
FIX: Restart your computer
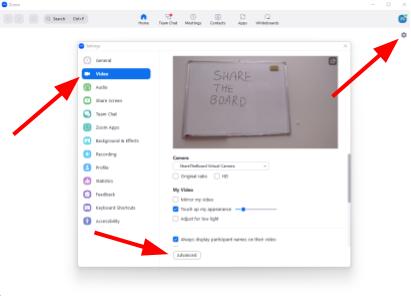
6.3 Zoom UI lag (for more info, see section 5.2.1)
If you notice any issues within the Zoom interface (i.e., lags within the interface while using the ShareTheBoard Content Camera)
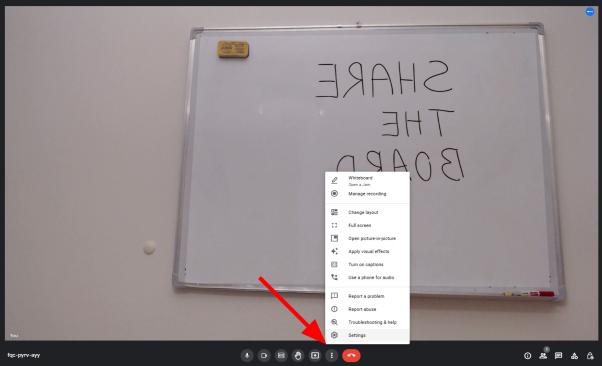
- Open Settings in Zoom Desktop application
- Go to Video options
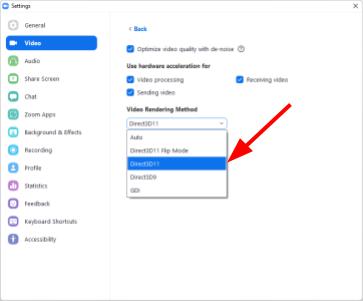
- Press Advanced button
- Select Direct3D11
6.4 Auto-start is not working after startup
The ShareTheBoard application opens at system startup along with other applications. A meeting in a conference app (e.g., MS Teams) can be started before the ShareTheBoard Content Camera is initialized and in such cases, the auto start feature will not work.
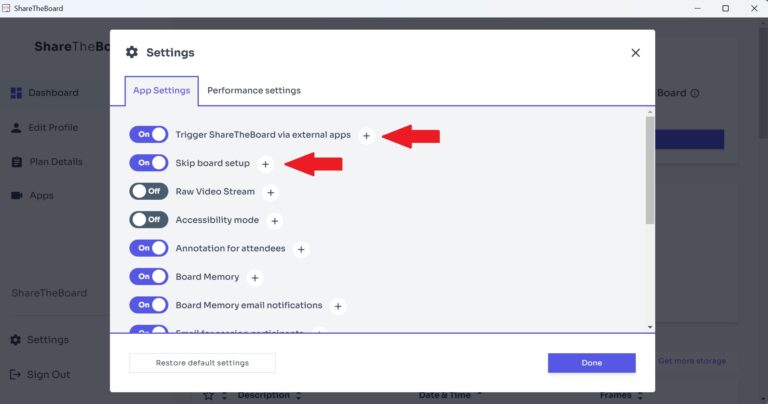
- FIX: Disable and enable video in the conference application – after this operation, the auto-start feature should be available. Make sure the Trigger ShareTheBoard via external apps option is enabled in the App Settings (see 4.5.3)
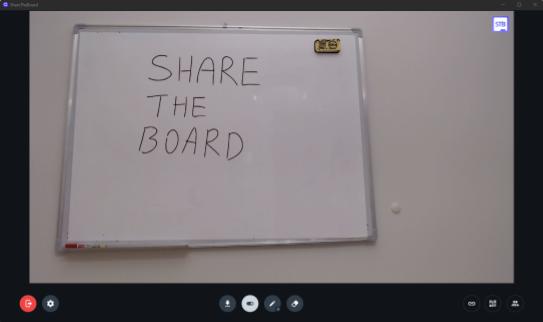
6.5 Frozen ShareTheBoard screen in the conference application
In rare cases you may see a frozen frame or static STB default screen. In such situations, try these steps to unblock the application:
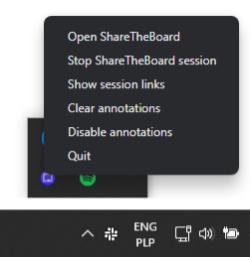
- Restart the ShareTheBoard Content Camera
Right-click on the application icon inside the shortcut Tray and select Quit; then start the application once again.
- If this will not fix the issue, try restarting your conference application
- Finally, in very rare cases you may need to:
- restart your PC
- reinstall the ShareTheBoard application